DIGITAL DENTISTRY TRAINING
Our selection of digital dentistry courses and training material. Start with the basics, optimize your skills or expand your business. Whether you’re looking for online dental courses or expert sessions, 3Shape Academy has got you covered.
EN
The place for all 3Shape training materials, where you can onboard and keep yourself up-to-date on how to use our products. From TRIOS training to dental software courses, we've got you covered with 3Shape training videos and guides.
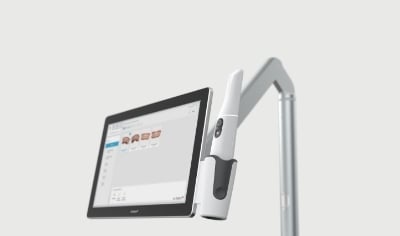
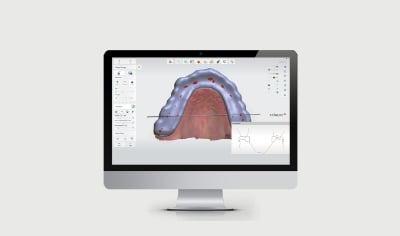
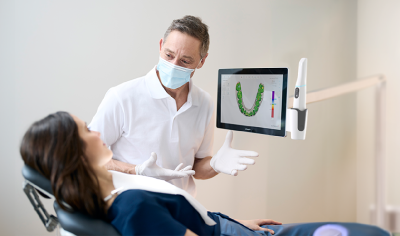
TRIOS training
Self-paced 3Shape TRIOS training and onboarding, product news and updates.

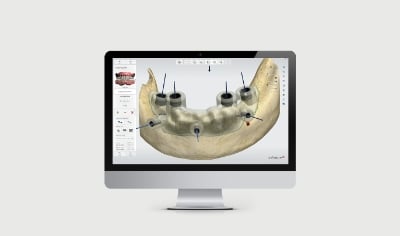
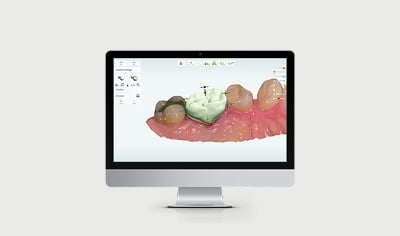
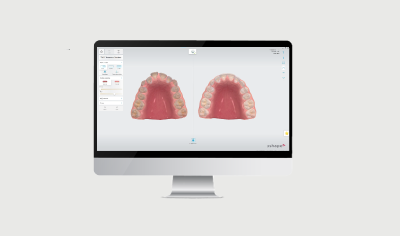
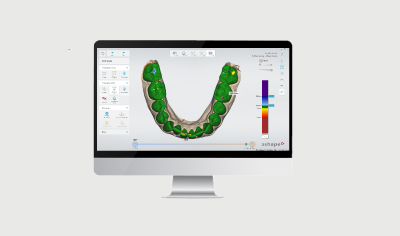
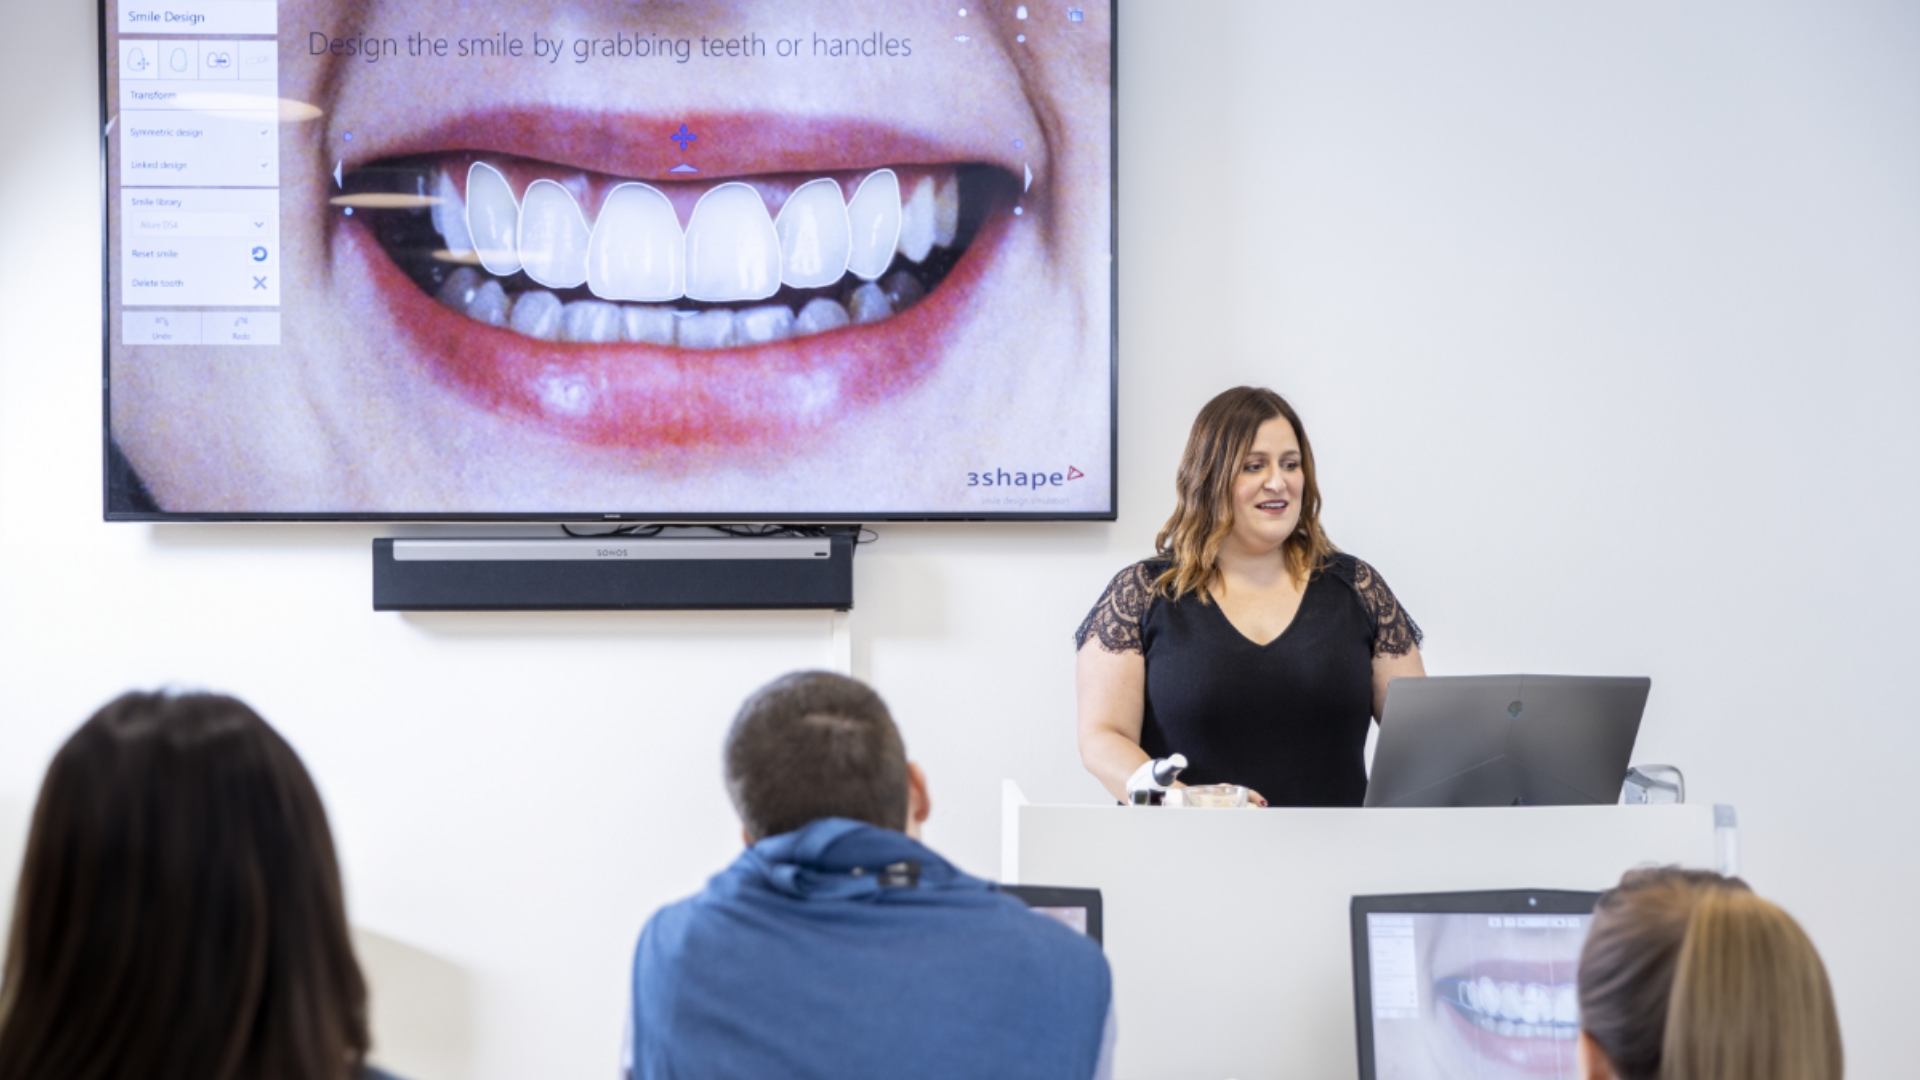
Software training
3Shape training courses focusing on digital dental workflows and dental CAD software – how to get started, setup and administration, design and production.


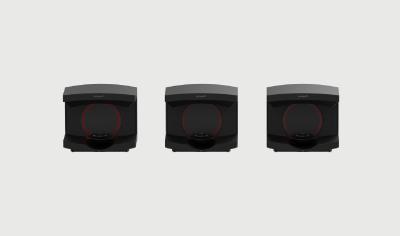
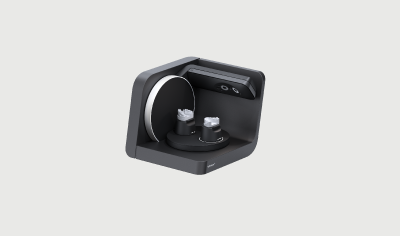
Lab scanners training
3Shape training courses that help you get started with our scanners.

TRENDING TOPICS
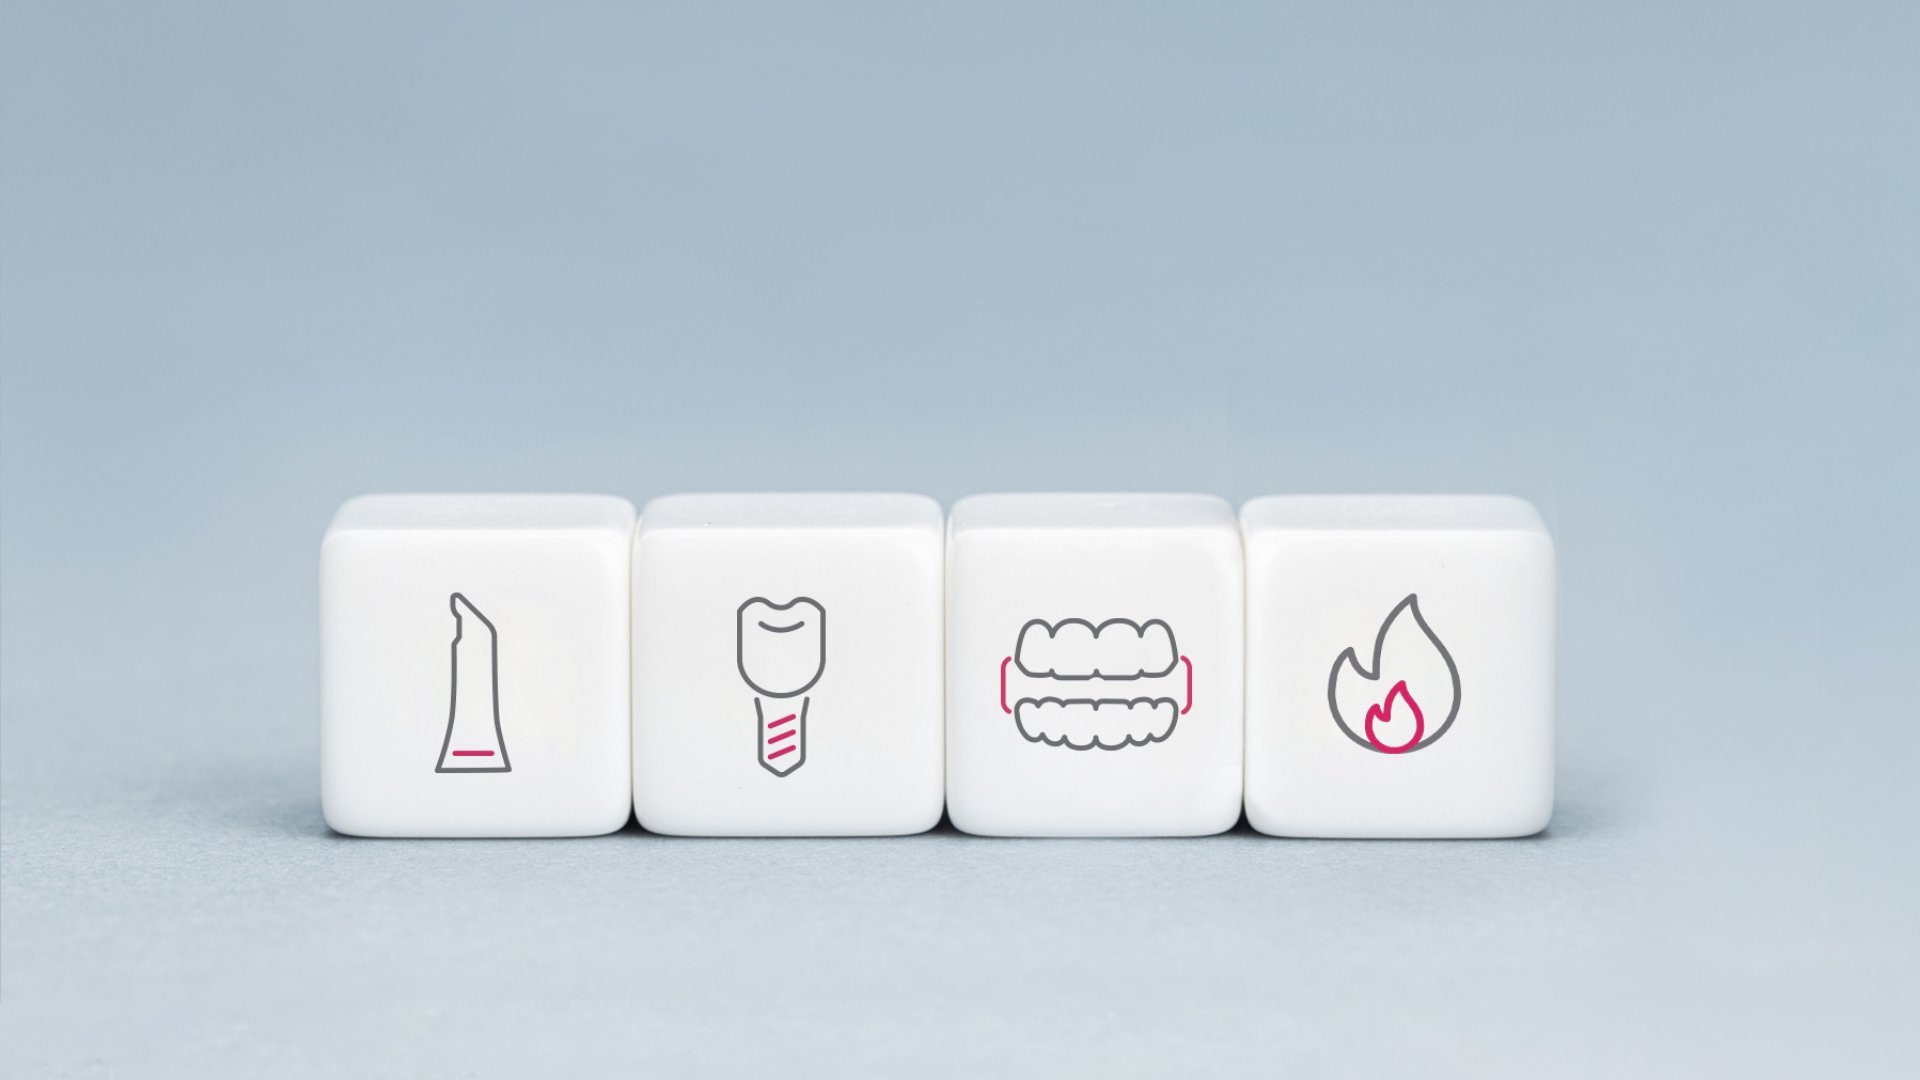
Some digital dentistry tips and tricks are simply too good to be true
The tips in our trending topics library help you get great at digital dentistry with bite-sized training material that you can apply in your work immediately.
DIGITAL DENTISTRY EVENTS
Looking for new inspiration on how to apply CAD/CAM dentistry in your daily work? Our physical events and digital dentistry trainings give you live access to our experts to explore our products, workflows, and new trends.